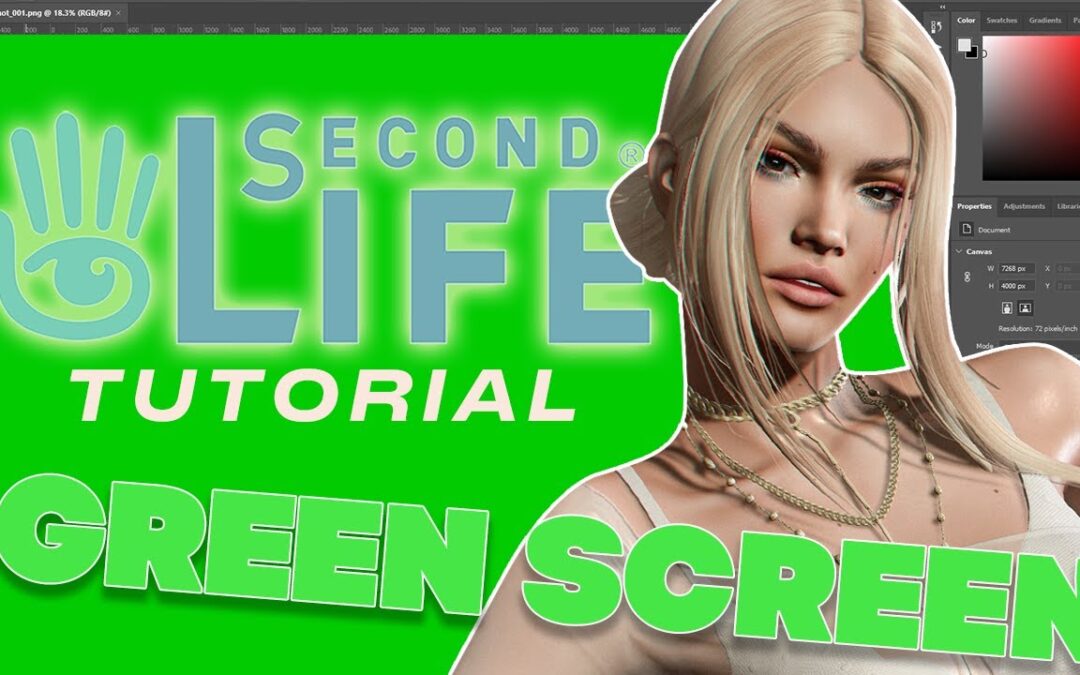
This article that will guide you through Grant Valeska‘s latest video, a renowned tutorial creator for Second Life users. In this video tutorial, Grant shares valuable tips on effectively removing the green screen and creating captivating mirror effects using Photoshop. If you are passionate about virtual photography and want to enhance your skills, this article is tailored for you!
The Significance of Green Screens in Virtual Photography
Before delving into the details of this captivating tutorial, it is crucial to understand the significance of green screens in virtual photography. The green screen allows digital artists to create realistic and stunning virtual environments. Properly removing the green screen is a crucial step in achieving high-quality and professional-looking images.
Precise Green Screen Removal Techniques
Grant Valeska provides valuable insights on effectively removing the green screen using Photoshop. In the video, Grant demonstrates the use of the quick selection tool to precisely crop the desired image, eliminating unwanted shadows on the face and hair. This step allows for astonishing results and a more realistic image.
Refining Edges and Creating Fusion Effects
In the next section of the video, Grant shows how to refine the image’s edges using the two-pixel contraction tool for better clarity. Furthermore, he explains how to verify the image edges using a black layer beneath the green screen. Grant also demonstrates creating fusion effects by painting on a green background and using transparent colors for a stunning outcome.
Adding Shadows and Highlights to Enhance the Mirror Image
In the subsequent section of the video, Grant demonstrates how to blur images for a more natural effect using the blur tool. Additionally, he illustrates using the burn and dodge tools to create shadows and highlights on the nails. These added details bring depth and definition to the mirror image, creating an alluring result.
Achieving Realistic Reflection Effects
In the final section of the video, Grant shows how to add a reflection to the images using editing software. This step involves adding a simple background image to avoid overwhelming the main image. Grant also explains how to correct details such as shoulders, skirts, and hairlines. Finally, he creates a reflection by duplicating the image layer and applying a transformation to make it symmetrical, also adding a slight blur to enhance the realism of the effect.
Conclusion
In conclusion, Grant Valeska’s video tutorial provides invaluable guidance on effectively removing the green screen and creating captivating mirror effects using Photoshop. By following his advice and utilizing the techniques demonstrated in the video, virtual photography enthusiasts can enhance their skills and create astonishing, high-quality images. Do not miss the opportunity to learn from the best—Grant Valeska will guide you toward success in virtual photography!
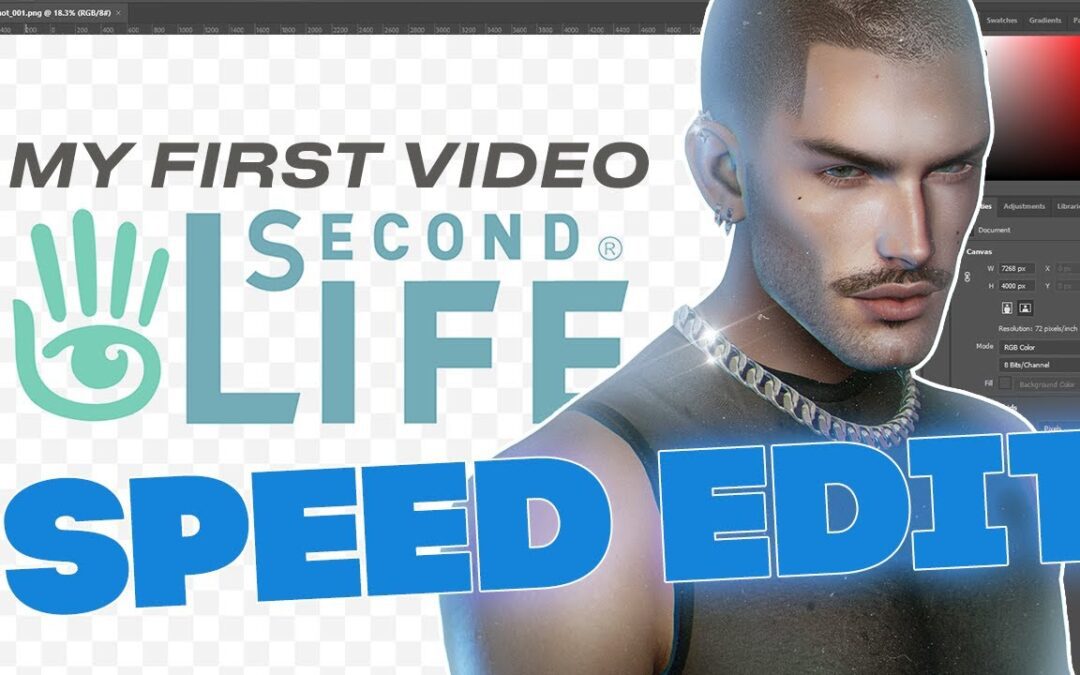
Renowned Second Life enthusiast Grant Valeska has made a significant entry into the YouTube community with the release of his first video tutorial. The tutorial, which focuses on creating a captivating photo edit of a portrait using Photoshop, has garnered attention for its valuable content and relevance to the Second Life community.
What distinguishes Grant’s tutorial from others on this subject is his use of real-life photographs as a starting point, particularly those commonly featured in high fashion magazines. By leveraging these professional images, Grant demonstrates how to achieve a compelling effect that is sure to resonate with virtual photography enthusiasts.
The tutorial has received acclaim for its clear and insightful guidance, making it an invaluable resource for individuals seeking to enhance their virtual photography skills. Grant’s expertise and engaging presentation style have positioned him as a promising new YouTuber within the Second Life community.
For those with an interest in virtual photography, Grant’s tutorial comes highly recommended. Its accessible approach and impressive results make it a must-watch for anyone looking to elevate their creative endeavors within the virtual realm.
As Grant’s debut video continues to gain recognition, there is eager anticipation for more content from this talented newcomer. His unique perspective and commitment to delivering valuable insights are certain to make him a noteworthy figure within the Second Life and virtual photography communities.
In conclusion, Grant Valeska’s inaugural YouTube tutorial has set a high standard for quality content within the Second Life community. His tutorial not only showcases his proficiency in virtual photography but also serves as an inspiration for others looking to explore this creative niche. As Grant continues to share his expertise, there is no doubt that he will play a pivotal role in shaping the future of virtual photography within Second Life and beyond.
Ezra provides a voiceover while reviewing footage of a recent photo shoot in this video tutorial. The process involves setting up the scene, adjusting windlights, saving preferences, selecting a suitable windlight, and making adjustments for lighting on the face and dress. The tutorial covers the importance of selecting 8K in Black Dragon settings, utilizing Photoshop for cropping, and using various techniques for enhancing hair, such as the pen tool and stamp tool. Ezra also discusses adding shadows, adjusting curves for highlights and shadows, and creating faux depth of field using the iris blur. The tutorial concludes with additional adjustments in PhotoScape X, including adding sparkles, zoom blur, bokeh lights, sharpening, noise, and chromatic aberration. The video ends with a before-and-after comparison, and Ezra encourages viewers to like, subscribe, and comment for future content suggestions.
I’ve learned today the Skip Staheli’s technique to remove the green screen without any green halos.
In this way, you will be able to remove the green screen in the easiest possible way. Fix the green halos quickly, without creating an alpha or a clipping mask.
Pick-up the green-screen from your image using the dropper;
Adjust the “tolerance” until you can perfectly see just your avatar’s shape;
Click “ok” when you are happy with it;
Now go to “Selection” → “Inverse” and press CTRL+J;
Use the polygonal Lazo to select just the outline of your avatar’s hair (watch the video to better understand);
Finally, go to Image → Adjustments → Hue/Saturation and select “green” from the drop-down menu where you read “composite.” Adjust saturation, hue, and brightness until you get the same color of your hair.
Tips from Skip Staheli about this method
He says:
It works mostly perfect.. only have to be more precise when there is a lot of green in clothes or avatar makeup/eyes etc…so when you see with a photoshoot someone is wearing a lot of green, you can choose bright pink/magenta as background.. and then do the same trick.. that works too
Skip Staheli
That’s all! For more details and a better explanation watch my Youtube video.
I thought to realize a video tutorial about how to composite images taken in Second Life. Why is it so important? Why not merely taking a shot inworld without separating avatar and backdrop?
The separation is a great way to:
Modify the avatar position and dimension, so you can valorize it. This technique is adopted by fashion blogger since without it they couldn’t decide exactly what to show in the canvas;
Add lighting and shadows made explicitly for the avatar: this part is not so crucial since it’s possible to give life to high lights and shadows composition also inworld, but it’s something to take in mind;
Add a backdrop that in Second Life doesn’t exist: occasionally, I use some free copyrighted images for my backdrops, but not often, since to get the credibility, it’s essential using SL images. The difference between the two shots could be excessive, and this could carve negatively on the result.